By a Caring Mom at Infant Tales
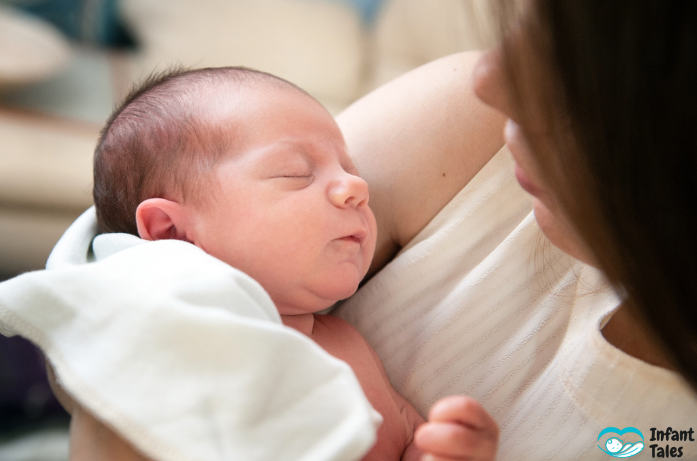
The arrival of a newborn is a very happy but also a very stressful situation. Among the many new routines, Changing Baby Diaper soonest becomes one of the most frequent and most important tasks. It not only keeps the baby clean and healthy but also gives the parents and the baby moments of bonding and gentle connection.
If you’re not sure how to change baby diaper or what the right technique is, this guide will clearly and confidently walk you through the whole process and give you the required knowledge.
How Often Should You Change a Baby’s Diaper?
American Academy of Pediatrics (AAP) says that newborns’ diapers will need changing 8-12 times a day which equals a change every 2-3 hours roughly. Newly born babies urinate often, and their delicate skin can suffer irritation which is already a major cause if they are left in a wet or dirty diaper for long.
A good rule of thumb:
- Newborns: Change every 2–3 hours or whenever wet. If you’re breastfeeding, you may notice your baby needs frequent diaper changes due to regular feedings.
- Infants (3–6 months): Every 3–4 hours.
- Older babies: Every 4 hours, or right after a bowel movement.
Generally, using disposable diapers makes it easy for coloring lines to indicate when the diaper is wet also making it simple for the parents or caregivers to know when to change the diaper.
Pro Tip: Do not wait long after the baby poops. The baby’s skin may get raw or even become infected due to the prolonged exposure to moisture and bacteria as a result of diaper rash.
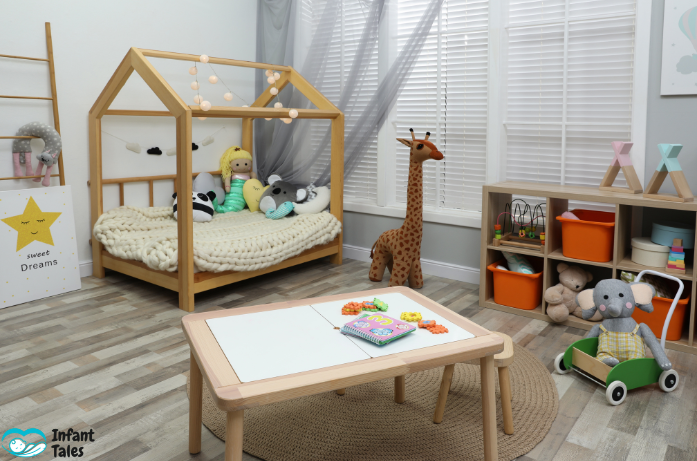
Setting Up a Safe and Comfortable Changing Area
Creating a clean, dedicated area for diaper changing station can make life easier and less messy. Whether you use a diaper changing table, a portable pad, or simply a soft mat on a firm surface, the key is persistence.
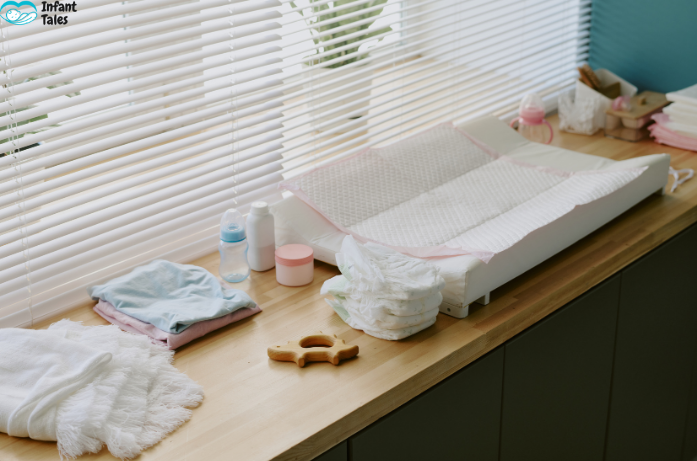
What You’ll Need at Your Changing Station
Make sure all of the diaper changing essentials are within your reach so you aren’t running around trying to find things in the middle of the diaper change.
- Clean diaper (cloth or disposable)
- Unscented baby wipes or cotton pads with warm water
- Diaper rash cream or ointment
- Changing pad or mat
- Trash bin or diaper pail
- Hand sanitizer or soap
- Disinfectant wipes
- Extra clothes (for those messy surprises!)
If your home is quite big, it may be a good idea to have a smaller diaper station in different rooms or use a portable basket that goes with you.
Safety Reminder: When your baby is older and starts rolling over, always keep one hand on him/her during diaper changes. Even for a few seconds, do not leave your baby alone. diaper changing safety is essential.
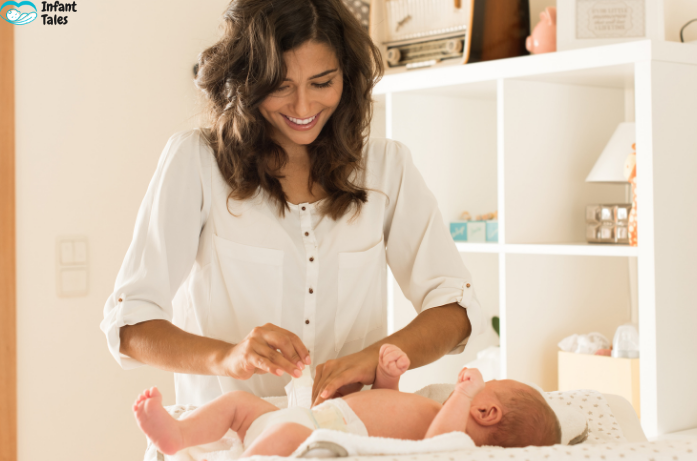
Preparing for the Diaper Change
The very first thing to do is to wash or sanitize your hands. Then check if your baby is lying safely on the changing surface. If your changing pad has safety straps, gently buckle them. When you are ready, take a deep breath; babies can sense your calmness.
It is also a good practice to softly talk to your baby during the diaper change. Your baby will be comforted by your voice and this will be a great chance for bonding and even early language exposure.
Step-by-Step: How to Change Baby Diaper
baby diaper changing may become a little messy, but with the right routine you will manage as a pro. Here is a clear, step-by-step breakdown:
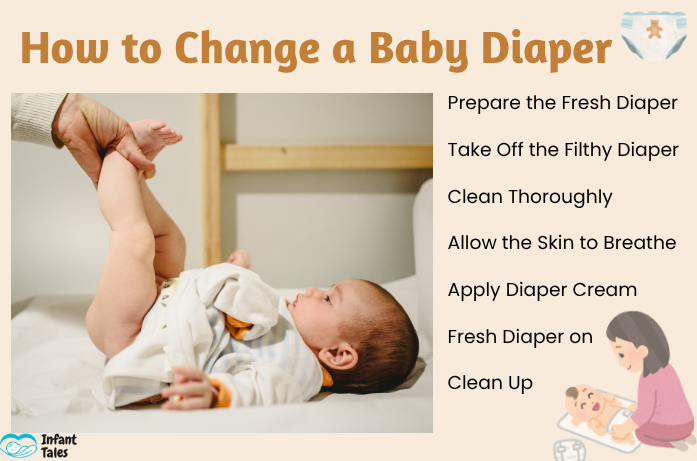
Step 1: Prepare the Fresh Diaper
Unfold the clean diaper and place it under the baby’s bottom before taking off the old one. In the case of the disposable diapers, the sticky tabs should be located under the baby’s back. This helps catch any surprise leaks during the process.
Step 2: Take Off the Filthy Diaper
Open the tabs or pins of the soiled diaper. If your baby has pooped, use the front part of the diaper to gently wipe away most of the mess. Fold it under their bottom so that it can be a little barrier between their skin and the surface.
Step 3: Clean Thoroughly
Clean your baby’s diaper area with wipes or cotton pads that are dipped in warm water. Always wipe from front to back, especially for baby girls, to avoid infections.
Be a little rough and remember to clean all the folds and wrinkles of the skin.
Parent Tip: Many baby boys urinate when their skin is exposed to fresh air. So, keep a soft cloth or wipe on hand to protect yourself (and the walls!).
Step 4: Allow the Skin to Breathe
After wiping, let the area air-dry for a few seconds or pat it gently with a soft towel. Moisture is the primary reason for diaper rash, so this step is critical.
Step 5: Apply Diaper Cream
If your baby’s skin appears a little red or inflamed, apply a thin layer of diaper rash cream or zinc oxide ointment. It creates a protective barrier that shields delicate skin from moisture and friction.
Step 6: Fresh Diaper on
Place a clean diaper under your baby. Lift the front of the diaper up between the legs and fasten the tabs tightly, but not too tightly. You should be able to comfortably insert two fingers into the waistband. Check that the leg cuffs are not tucked in and are tight enough to prevent leakage.
Step 7: Clean Up
Roll and tie the dirty diaper and throw it away in a diaper pail or sealed trash bag. If necessary, wipe your baby’s hands, disinfect the diaper changing area, and wash your hands.
Proper Disposal and Hygiene Tips
Maintaining hygiene during diaper changes will protect not only your baby but also your family.
- Don’t let dirty diapers pile up, and dispose of them right away.
- Diaper bins are to be emptied every day to prevent odor and bacteria from forming.
- The changing area is to be sanitized regularly with mild disinfectant wipes or spray.
- Keep cleaning products that are safe for the baby stored away from their reach.
Bonus Tip: Tip: Keep a travel-sized hand sanitizer in your diaper caddy or bag for quick clean-ups.
On-the-Go Diaper Changing Tips
Diaper changing outside your home might seem difficult but the right preparation can make it so easy. Always take with you a diaper bag that is packed properly that contains the following:
- 2–3 spare diapers
- One small pack of wipes
- Diaper cream
- Portable changing mat
- A disposable bag for dirty diapers
- An extra outfit for the baby
When you are at public places, look for family restrooms or nursing rooms with changing tables. If that is not possible, you can change the baby diaper in the car or stroller but ensure it is safe and clean.
After changing, sanitize the mat and your hands, and then pack everything back in your bag neatly for next time.
Things to Keep in Mind
Even with the best preparation, diaper changes won’t always go smoothly. Blowouts happen, babies wiggle, wipes run out; all these are part of parenthood!
Here are a few realistic reminders:
- Be calm and patient. Your baby is going to know how you are feeling, especially if you’re dealing with a fussy baby during diaper changes.
- Be prepared with backups. Always keep extra wipes, diapers, and clothes nearby.
- Be ready for the unexpected. Occasionally, a full wipe-down or a bath is necessary.
- Practice makes perfect. Every diaper change gets easier with practice.
Do not forget that these times although messy, are full of love and care. They are part of the wonderful chaos of early parenthood.
When to Call the Doctor
If your baby suffers from a rash and it does not get better in 2-3 days, it has become very red or blistered, or the baby shows signs of infection (for instance, oozing or fever), seek the advice of your pediatrician.
The Centers for Disease Control and Prevention (CDC) among the most reliable and trustworthy sources for information regarding baby hygiene and skin care and thus can be consulted for this purpose as well.
Final Thoughts
Changing a baby diaper is not only a skill to be learned, but more so, it is a process that builds assurance and a bond. With each diaper change, you have the opportunity to soothe your baby, look into their eyes, and be affectionate in a soft manner.
It is definitely a messy process, and sometimes it can drain your energy, but still, it is an important aspect of caring for the little ones’ health. The key to that lies in the routine, patience, and a bit of humor; soon enough, you will be performing the diaper duty like a professional.
Breathe in deeply, always keep those wipes ready, and do not forget that a diaper change is just another way to show love.
FAQs About Baby Diaper Changing
1. How often should I change diapers?
Every 2-3 hours or when wet or soiled.
2. What helps prevent diaper rash?
Keep the area dry and apply diaper cream.
3. Can I use wipes on newborns?
Yes, but choose unscented or use warm water.
4. How tight should a diaper be?
Snug, but you should fit two fingers at the waist.
5. When to see a doctor for rash?
If it lasts over 2 days or looks red and sore.
Share your experience in the comments or explore more newborn care guides at Infant Tales, where parenting feels a little softer every day.
Disclaimer: This is an informative article only and is not a substitute for professional medical advice. If you have any concerns about your baby’s diaper rash, skin condition, or hygiene routine, always consult your pediatrician or health care provider first.